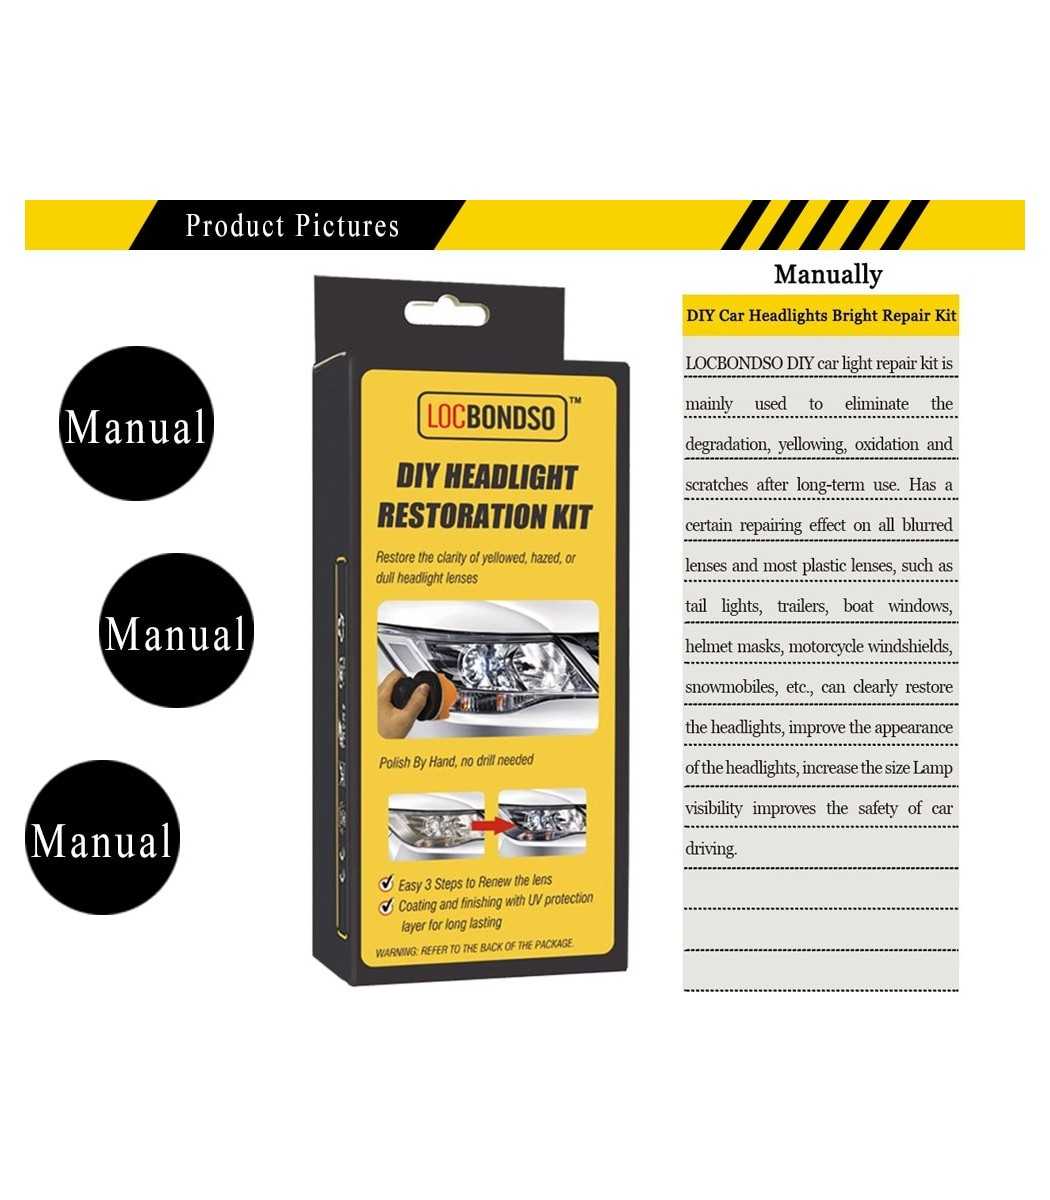
- Helps restore clear plastic by removing haze and discoloration
- Provides a deep clean to yellowed, hazed headlights with the use of a specially designed polish and sealant
- Improves visibility and safety
- One kit is intended to restore two headlight lenses.
- This inexpensive kit saves hundreds of dollars and restores crucial night time visibility by restoring your own lenses.
- Easy, 5-step process requires as little as an hour to remove scratches and restore cloudy, dull lenses.
Description:
- Plastic lenses can yellow with age, reducing headlight brightness, and new lenses can be expensive. The Headlight Lens Restoration Kit lets you shine
- and restore plastic lenses, including headlights, taillights, fog and directional lights. By restoring clarity to the lens, the performance of the headlight
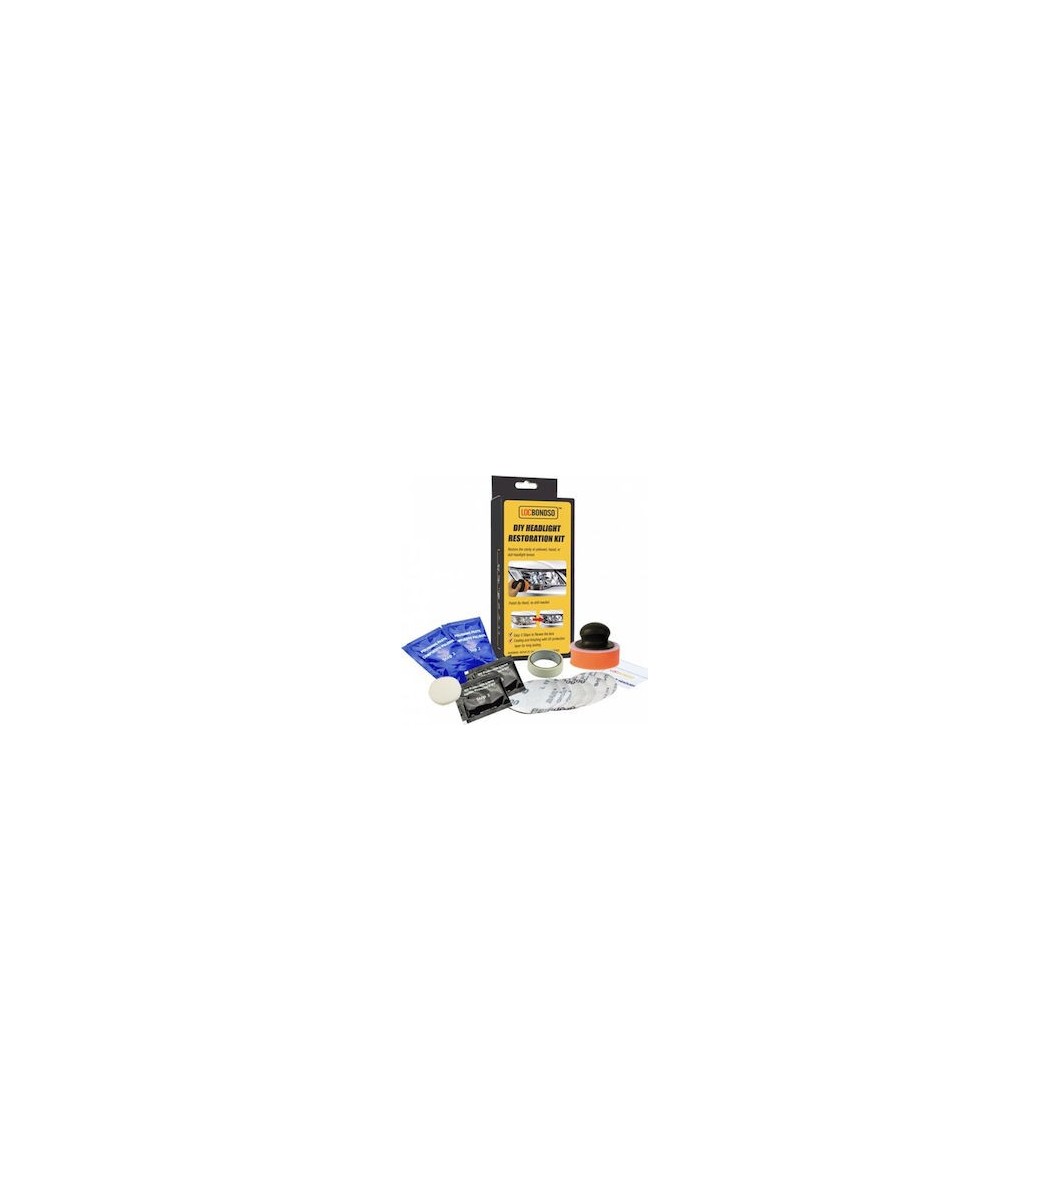
- is improved and the appearance of the vehicle is enhanced Now you can produce professional results with the Headlight Lens Restoration Kit. Kit
- includes all items necessary to perform the task except for the masking tape.
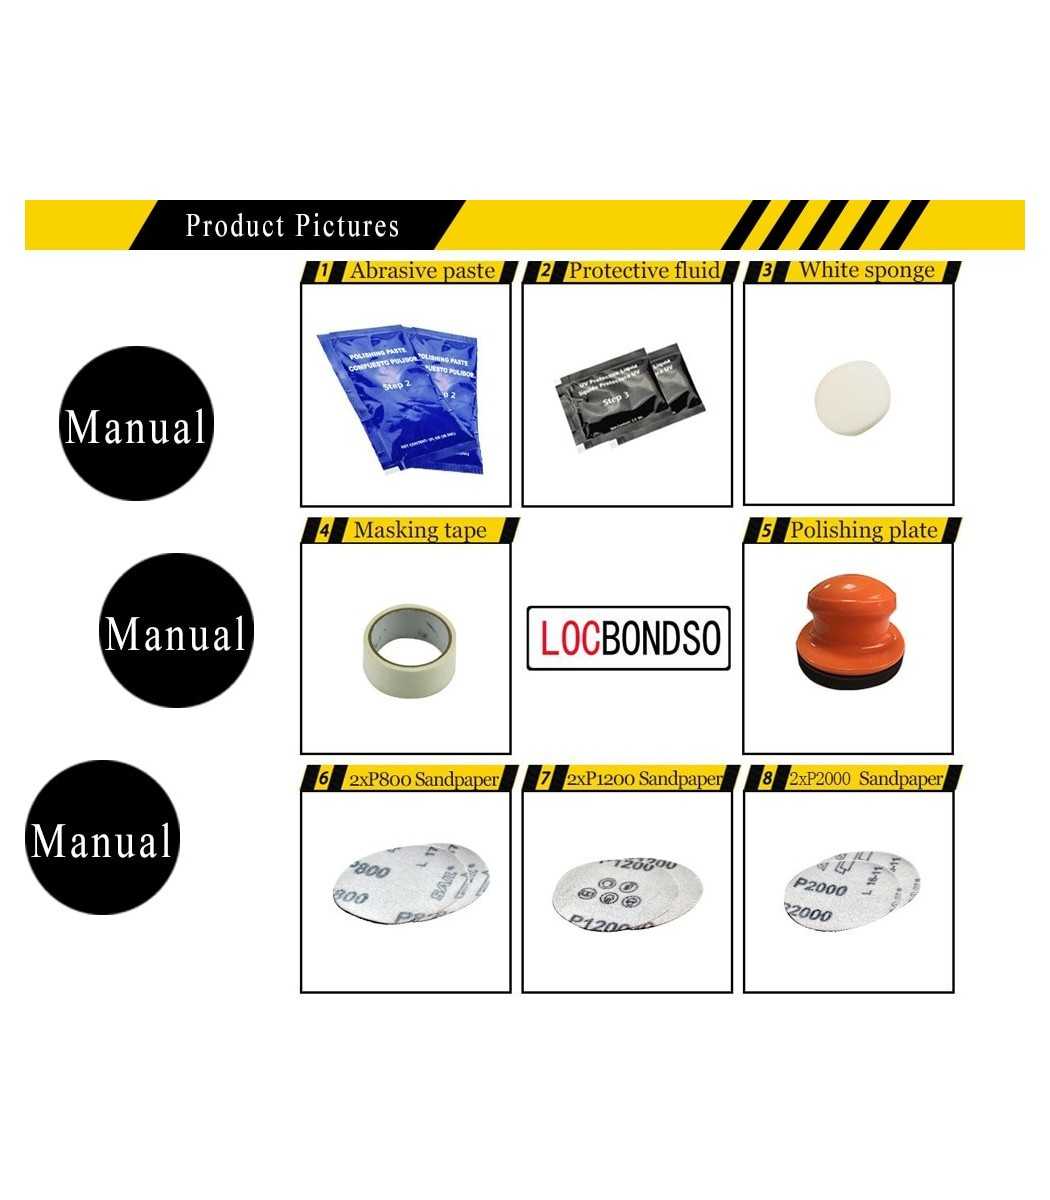
Electric Polishing Kit Contains:
- 1x Backer Pad M10 Thread+Adapter
- 1x Masking tape
- 1x Sponge Disc Orange
- 1x Sponge Disc White
- 2x Waterproof Premium Sandpaper P800 grit
- 2x Waterproof Premium Sandpaper P1200 grit
- 2x Waterproof Premium Sandpaper P2000 grit
- 2x Polishing Paste 40g
- 2x UV Protective Paste 3ml
- 1x Instruction Manual
Manually Polishing Tool Kit Contains:
- 1x Hand Buff Tool
- 1x Masking tape
- 1x Sponge Disc Orange
- 1x Sponge Disc White
- 2x Waterproof Premium Sandpaper P800 grit
- 2x Waterproof Premium Sandpaper P1200 grit
- 2x Waterproof Premium Sandpaper P2000 grit
- 2x Polishing Paste 40g
- 2x UV Protective Paste 3ml
- 1x Instruction Manual
Process:
Mask
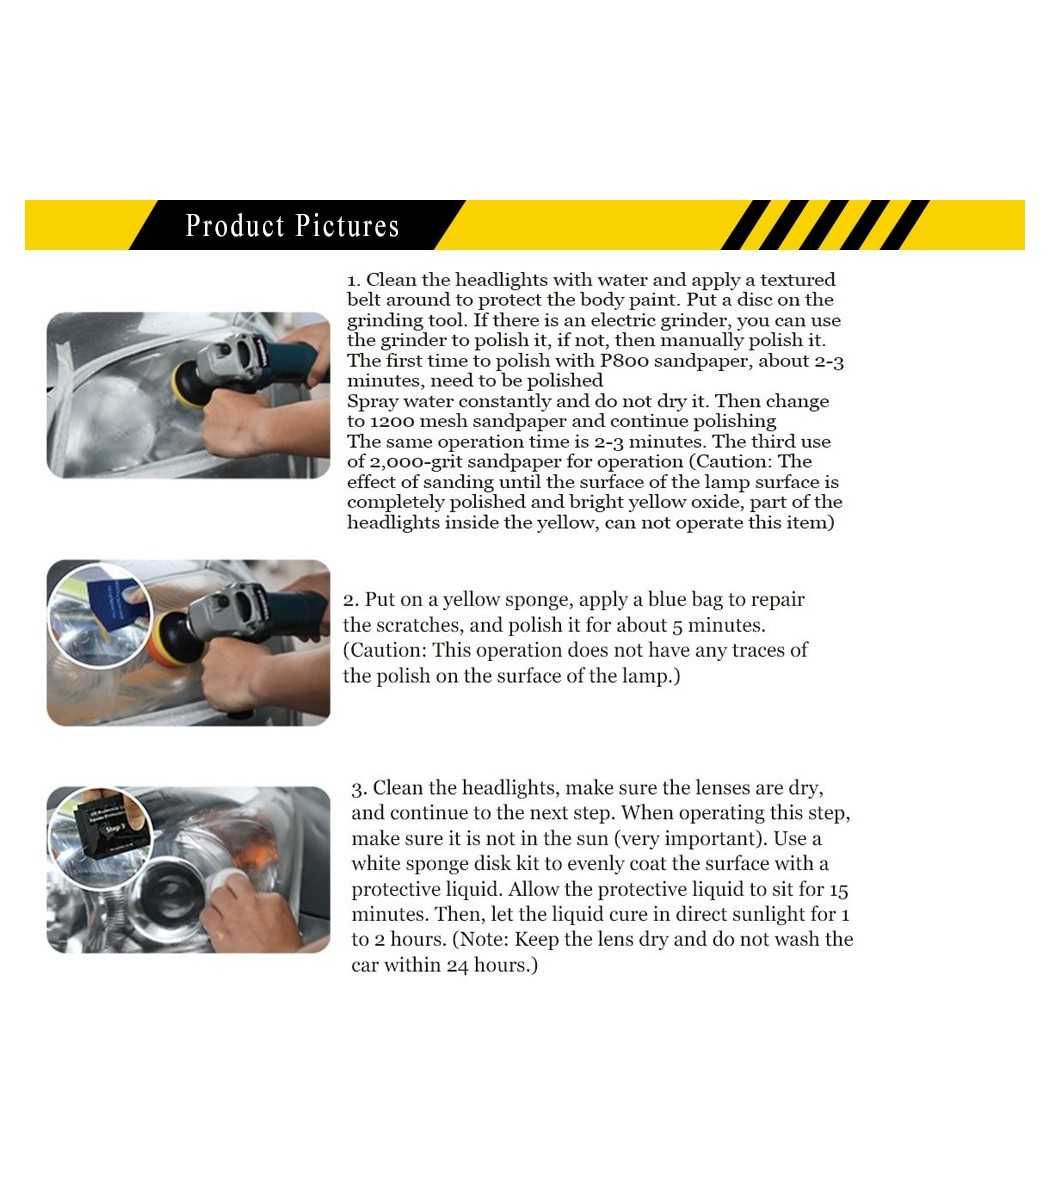
- After cleaning lens with water,Protect trim and painted surfaces around the headlight lens with masking tape.
Sand
- Use a grinding tool to mount the disc, Using three grits (P800,P1200,P2000) sanding disc orderly to sand away the yellowing and surface defects from lens.
- Replace with a new sanding disc if need and continue sanding until the yellow layer completely removed. Spray Water to the surface if it becomes dry while sanding.
Refine
- Dispense some polishing paste (STEP 2) onto the orange sponge to polish out the remaining scratches. When the sponge becomes dry, continue by adding
- some polishing paste until the sand scratches have been removed and the lens is clear.
Polish and Protect
- Remove the masking tape and wipe the headlight lens using attached white sponge. Using UV Protective Paste (STEP 3) to polish and prevent UV damage.
Storage:
- Products shall be ideally stored in a cool ,dry location in unopened containers at a temperature between 8-28 degree c ( 46 to 82F) unless otherwise labeled.