- Easy to use for all types of laminated windshields
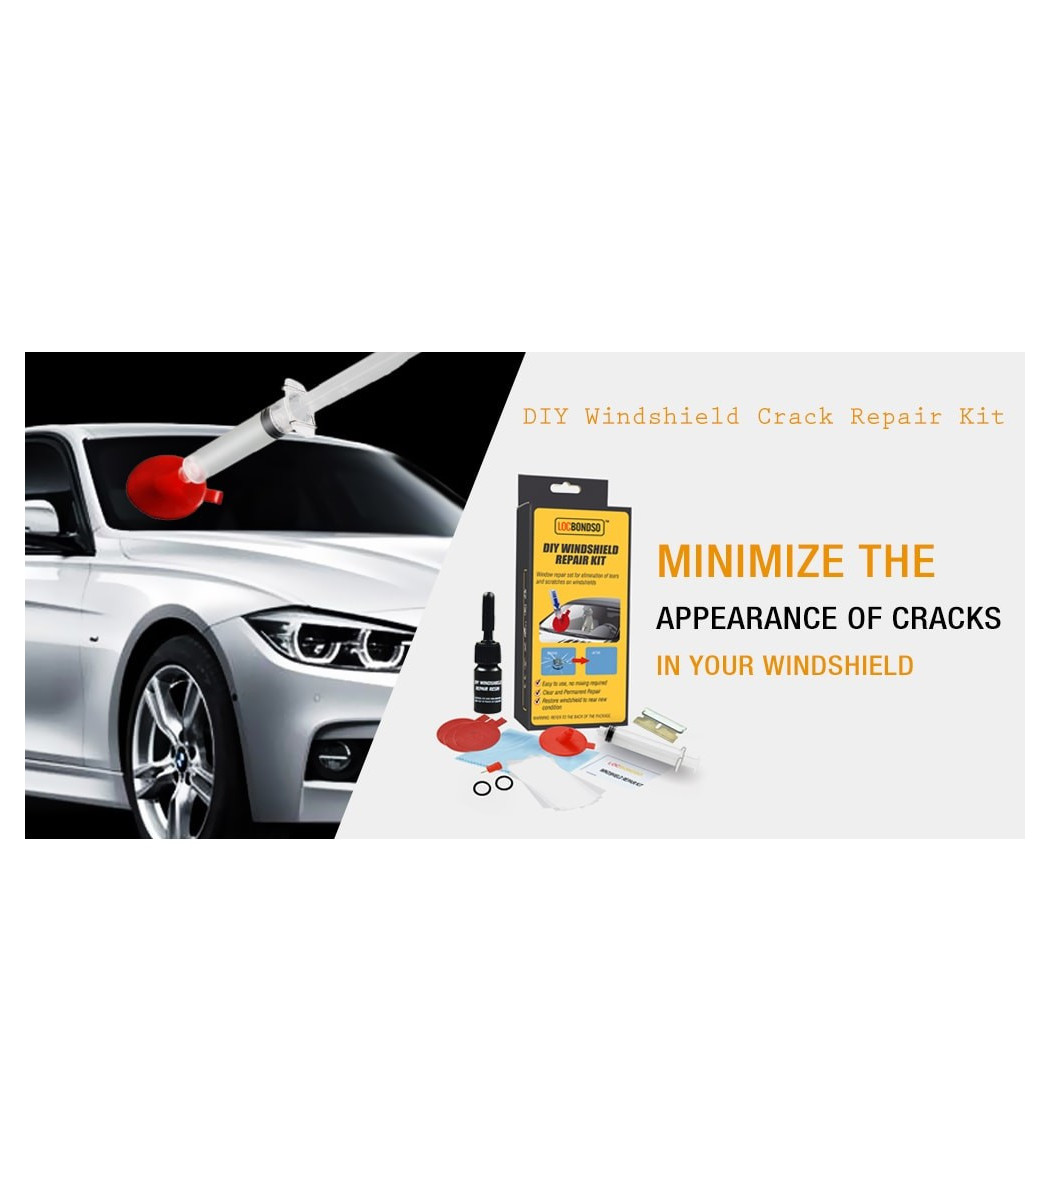
- Minimizes the appearance of chips and cracks in the windshield
- No heating is needed
- Durable resin formula
- Good for multiple repairs
- Unique ingredient-Eliminate the mixture
- With UV light,can replace the sunshine convenience
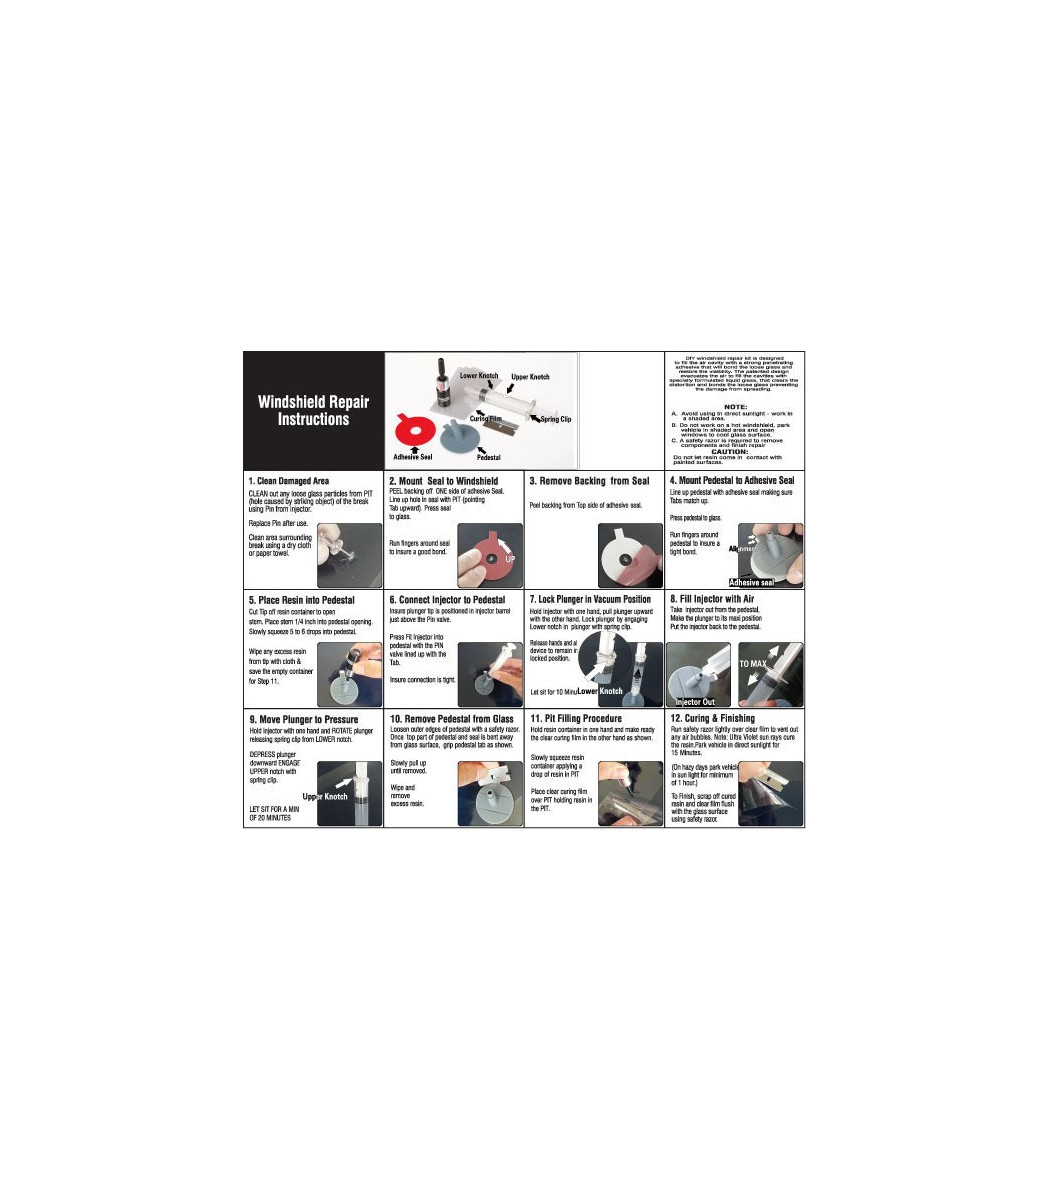
windshield repair instructions
- clean out any loose glass particlespit hole caused by striking object of the break using pininjector.
- replace pin after use.
- clean area surrounding break a dry cloth or paper towel
2, mount seal t windshield
- peel backing off side of adhesive seal
- line up hole in seal with pit pointing tab upward press seal to glass.
- run fingers around seal to insure a good bond.
3, remove backingseal
- peel backingtop side of adhesive seal.
4, mount pedestal to adhesive seal
- line up pedestal with adhesive seal making sure tabs match up.
- press pedestal to glass. run fingers to insure a tight bond.
5, place resin into pedestal
- cut tip off resin container to open stem. place stem 1/4 inch into pedestal opening. slowly squeeze 5 to 6 drops into pedestal.
- wipe any excess resintip with & save the empty container for step 11.
6, connect injector to pedestal
- insure plunger tip is positioned in injector barrel just above the pin valve.
- press fit injector into pedestal with the pin valve lined up with the tab.
- insure connection is tight.
7, lock plunger in vacuum position
- hold injector with one hand,pull plunger upward with the other hand . lock plunger by engaging lower notch in plunger with spring clip.
- release hands and allow device to remain in locked postion.
8, fill injector with air
- take injector outthe pedestal, make the plunger to its maxi postion
- put the injector back to the pedestal.
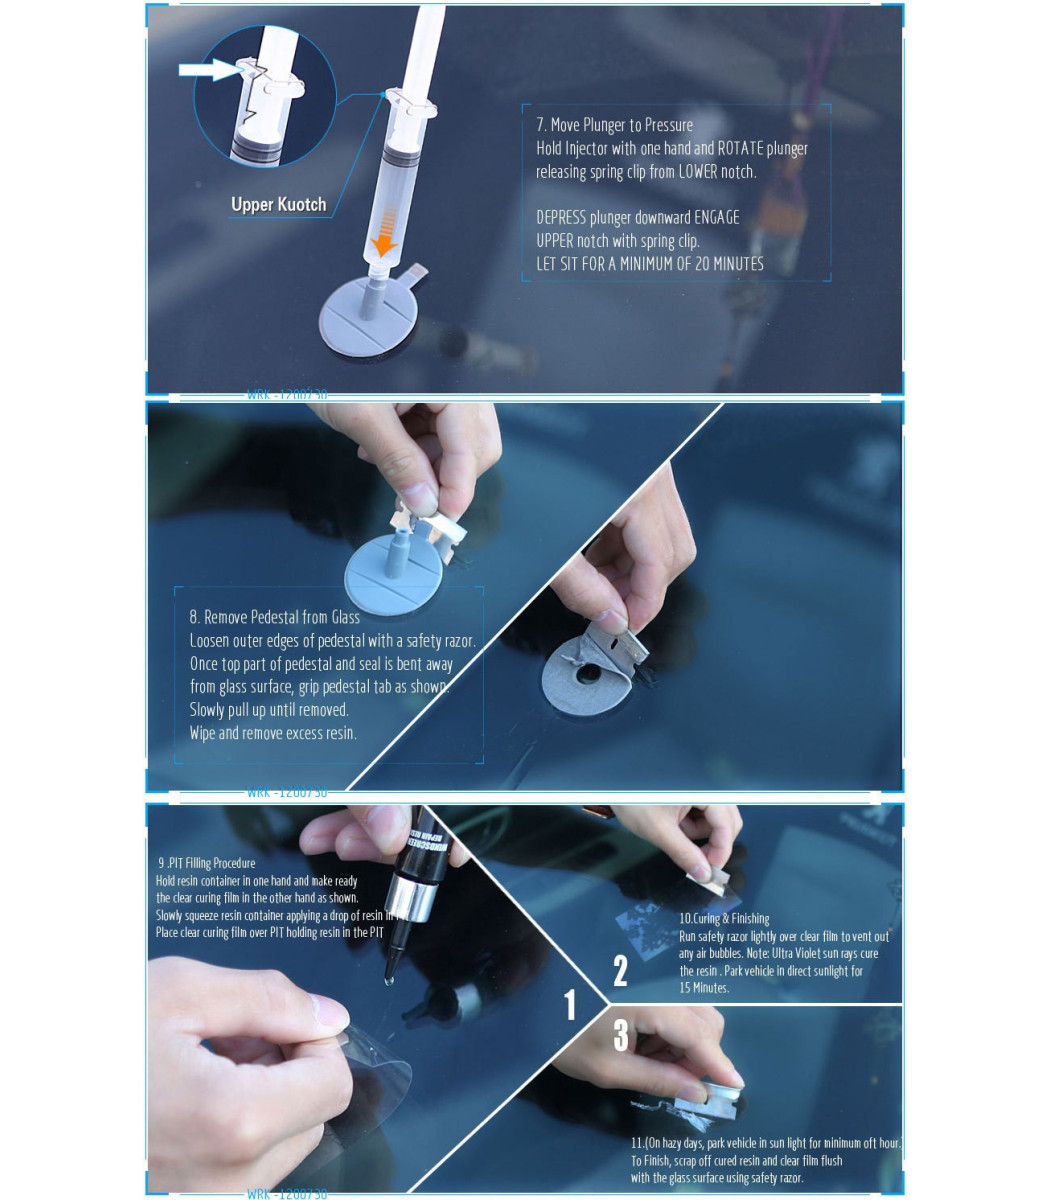
9, move plunger to pressure
- hold injector with one hand and rotate plunger releasing spring cliplower notch.
- depress plunger downward engage upper notch with spring clip.
10, remove pedestalglass
- loose outer edges of pedestal with a safety razor.
- once top part of pedestal and seal is bent awayglass surface, grip pedestal tab as show.
- slowly pull up until removed.
- wipe and remove excess resin.
11, pit filling procedure
- hold resin container in once hand and make ready the clear curing film in the other hand as shown.
- slowly squeeze resin container applying a drop of resin in pit.
- place clear curing film over pit holding resin in the pit.
12, curing & finishing
- run safty razor lightly over clear film to vent out any air bubbles.
- note: ultra violet sun rays cure the resin. park vehicle in direct sunlight for 15 minutes.on hazy park vehicle in sun light for minimun of 1 hour
- to finish, scrap off cured resin and clear film flush with the glass surface using safety razor.
Note:
- 1, avoid using in direct sunlight-work in shaded area.
- 2, do not work on a hot windshield, park vehicle in shaded area and open windows to cool glass surface.
- 3, a safety razor is required to remove components and finsh repair.
Caution: Do not let resin come in contact with painted surfaces.
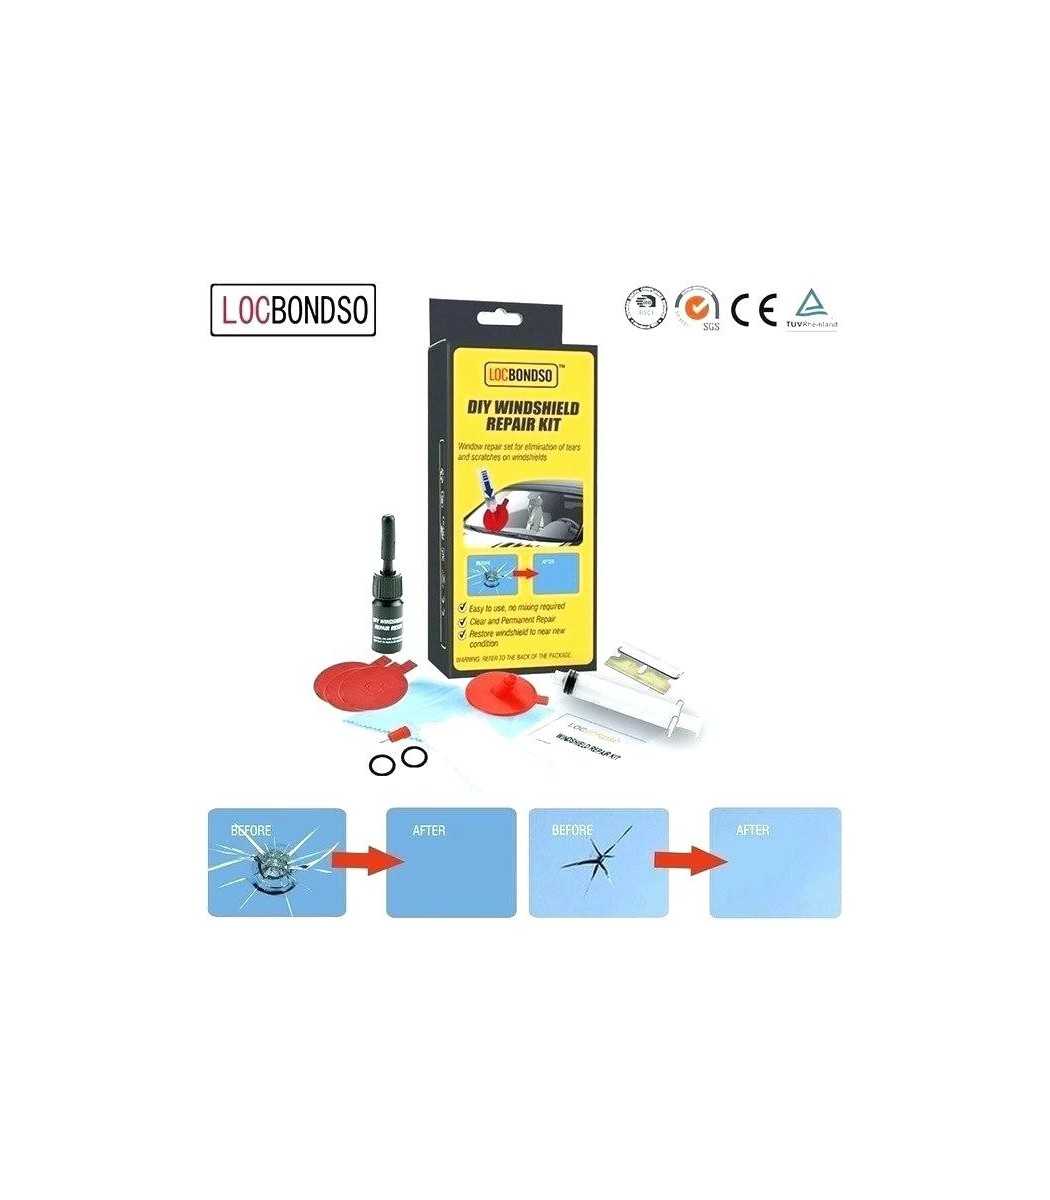
Style 1 with UV lamp Packing list:
- 1x2ml repair resin
- 5x Cure Film
- 3x Adhesive Seal
- 1x Pedestal
- 1x Razor Blade
- 1x Injector
- 1x Cleaning cloth
- 1x Push Pin
- 4x Black O-ring
- 1x Flexible Metal Tube
- 1x UV light
- 3x Transparent piglet
- 1x Instruction
Style 2 no UV lamp packing list:
- 1 * 2ml resin
- 1 * Injector
- 3 * Adhesive seal
- 1 * Pedestal
- 2* O-ring Seal
- 5 * Curing Film
- 1 * Clean Cloth
- 1 * Push Pin
- 1 * Blade
- 1 * Instruction manual
diy windshield repair kit
Data sheet
- CHEMICAL
- Car Care